I have a pi-hole server that runs all the DHCP and DNS for my family. When I first set it up, I had an incident where the pi-hole server went offline and required a hard reset. Since it was a pretty hot day 100+F, I figured it got too hot and shut down. Not sure, but why not use that theory as the basis for a project.
I decided I wanted to at least have an alert if my pi-hole got too hot. Using tools available via If This Then That (IFTTT), I could set up a simple python script that would send to a webhook at IFTTT and generate a notification if the temp hit a point where throttling would start.
Prerequisites
There is some setup on the RPi that you need to do first. I use some additional packages and tools that don’t come installed with default Buster.
First we’ll need to make sure Python and pip are installed.
sudo apt install python-pipOnce we have that completed, we’ll need to install requests to handle the webhook call and python-rpi.gpio to get the CPU temp.
sudo pip install requests python-rpi.gpioYou’ll also need an account at IFTTT and their app installed on your phone.
Setting up IFTTT
Once you have registered with IFTTT, you need to add the Webhook service to your account.
I will say, that I did not find IFTTT to be overly intuitive for setting up the webhook. It might just be me, but I spent a while thinking my account was broken. Hopefully the below instructions will help if you get stuck.
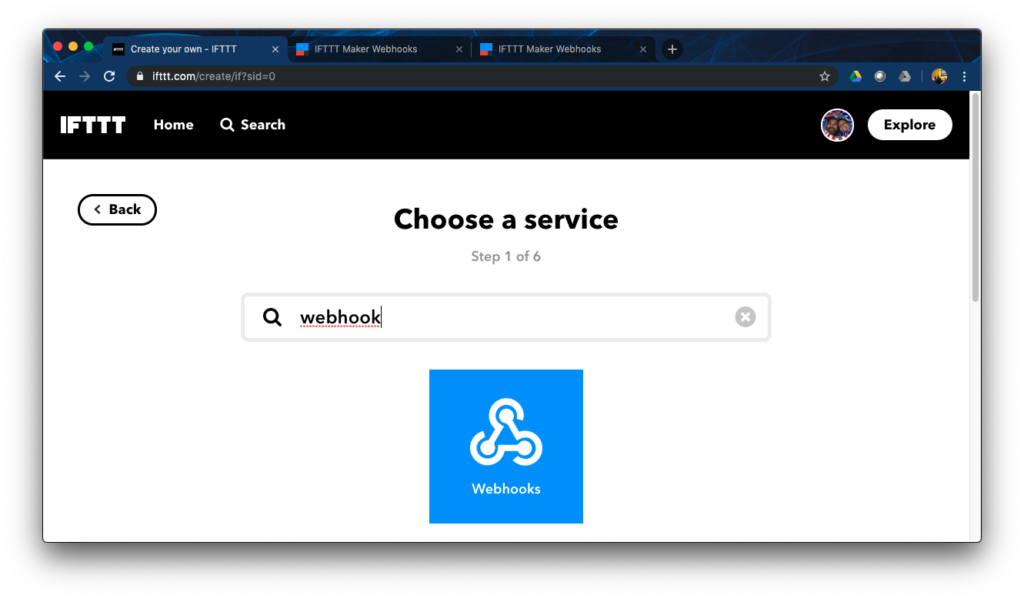
You can find this service by searching for “webhook” the search box on the top left of the page.

The search results will initially come up with “connections” listed. You will need to click on “services” to see the webhook option.
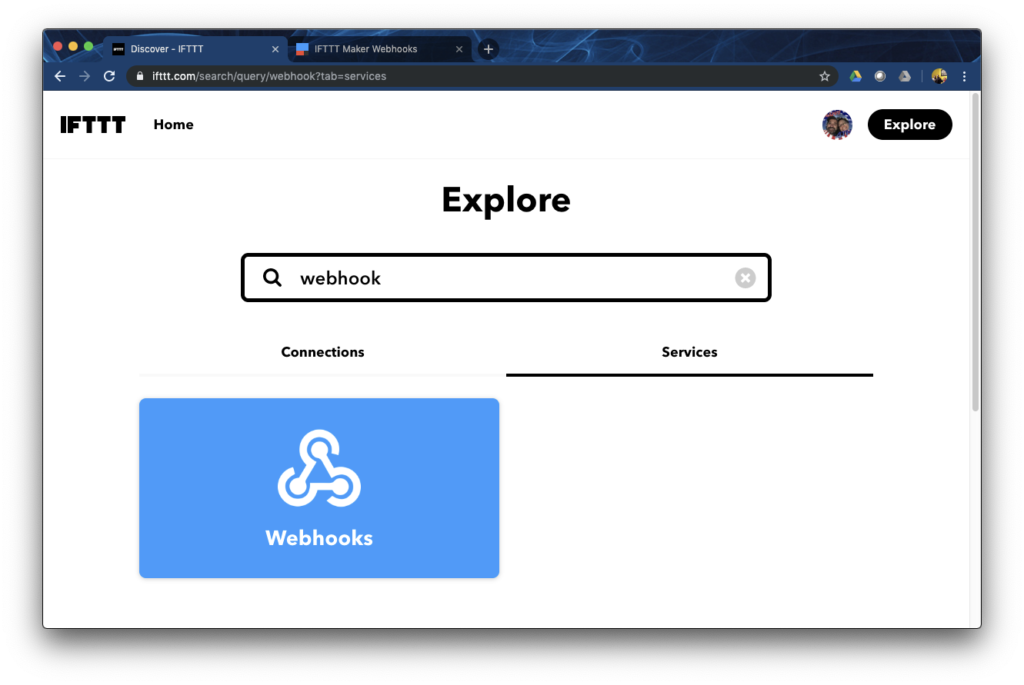
Click on “Webhooks” and you’ll see a page similar to the following following.
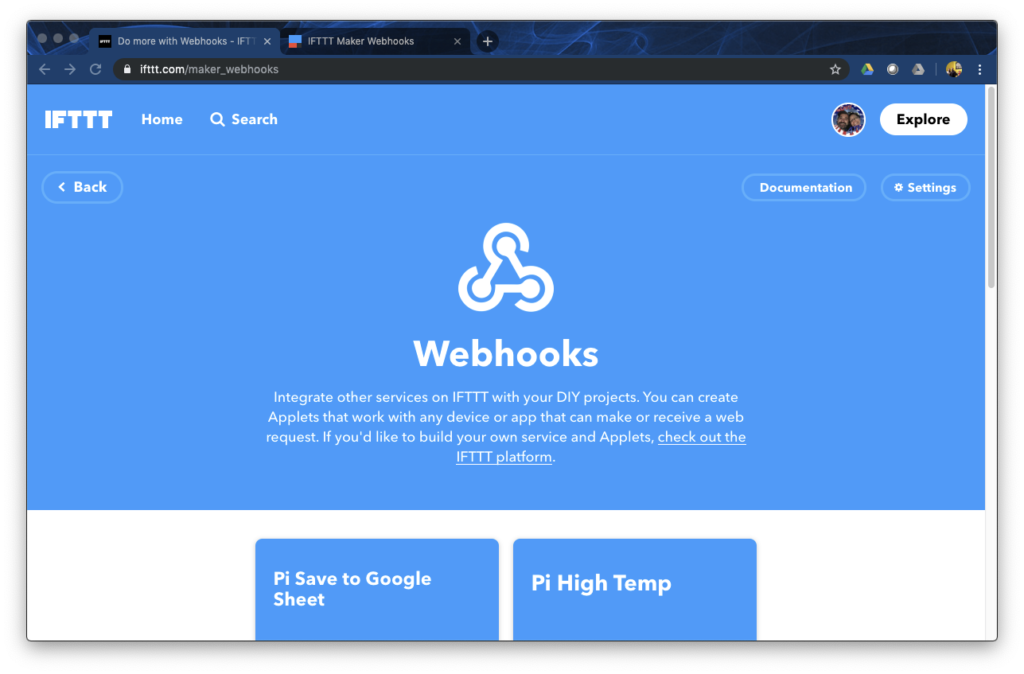
From this page, you’ll need to click on “Settings” on the right side.
From this page, you’ll need to click on “Documentation” on the right side. Which will take you to the information for your Webhook connection.
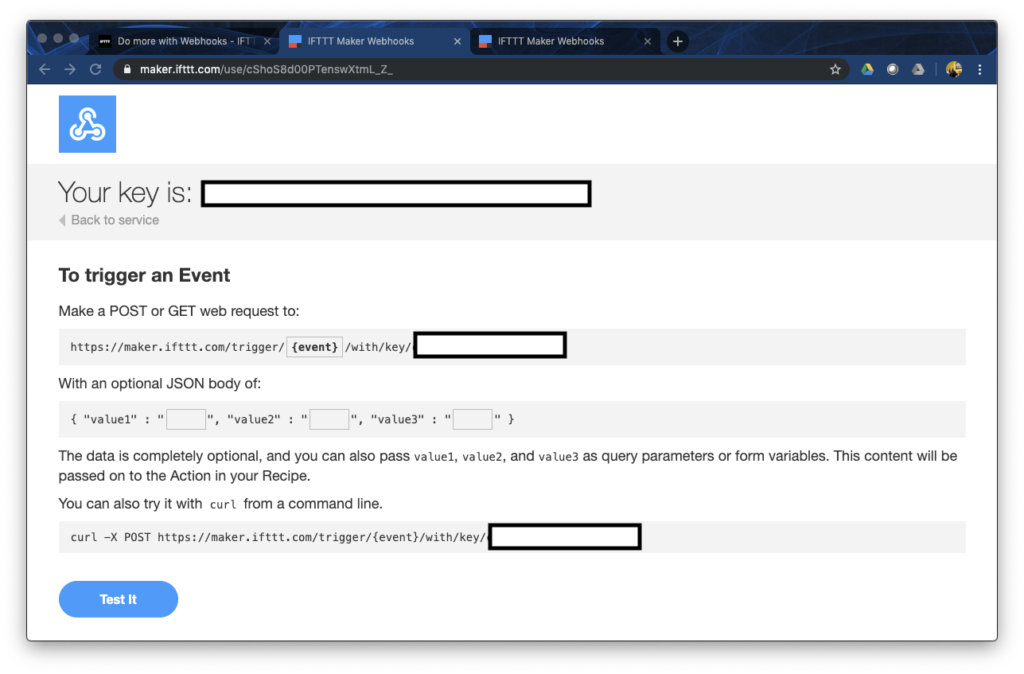
The important item on this page is your “Key”. You’ll need to copy this down for future reference.
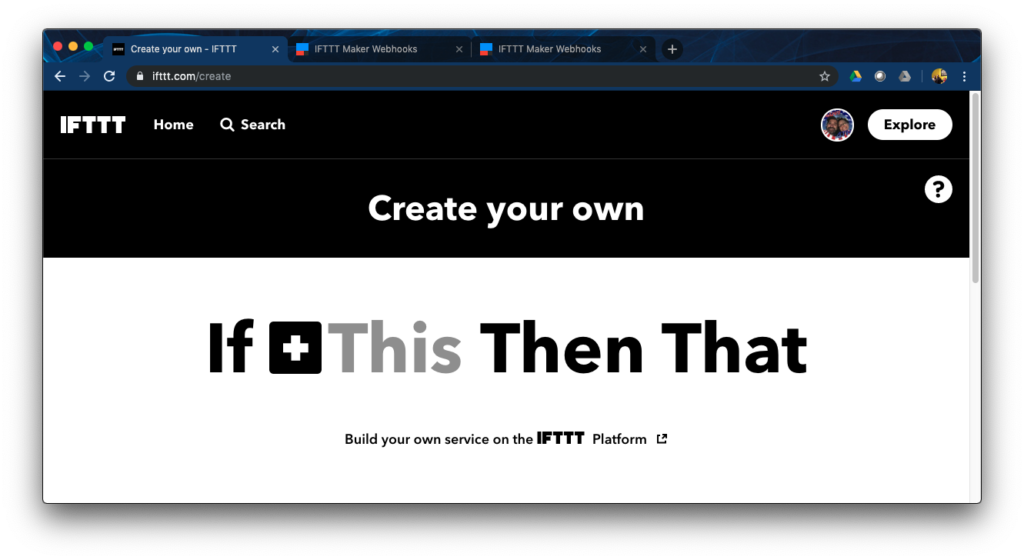
Creating the Event
Now that you have Webhook set up, we can move on to creating the event we’ll be triggering with the Pytthon code.
In IFTTT click the icon in the top right that represents your user profile.
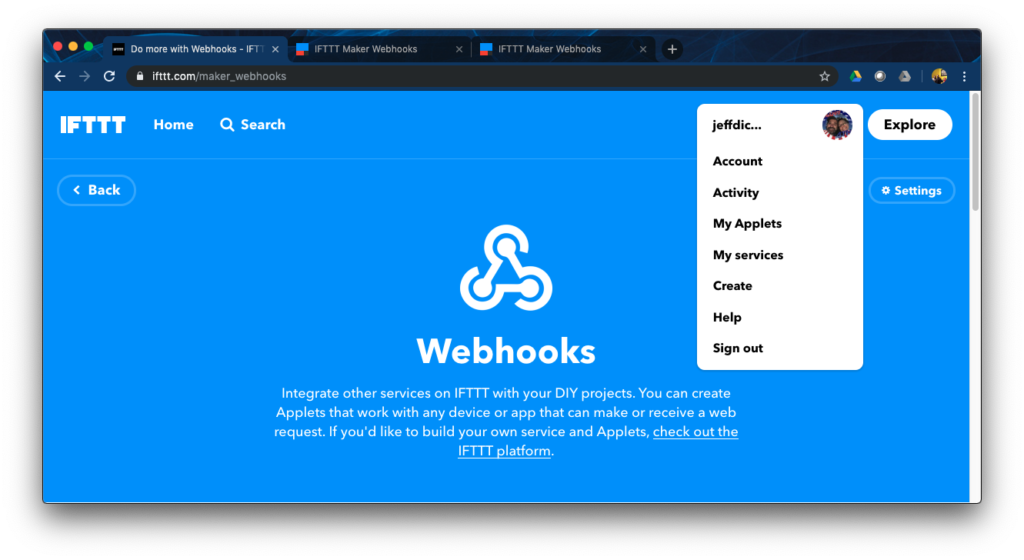
Click “Create” to set up your event.
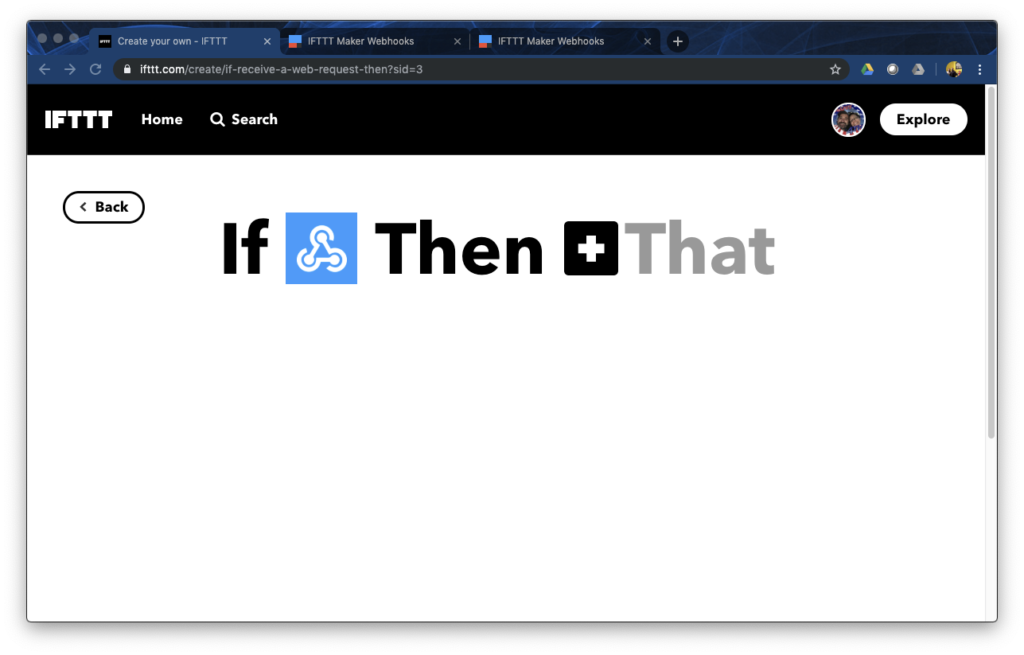
From here, you just click the + after “If” . You’ll be presented with a search services screen. Type webhook into the search box and select “Webhooks” when it appears in the results.
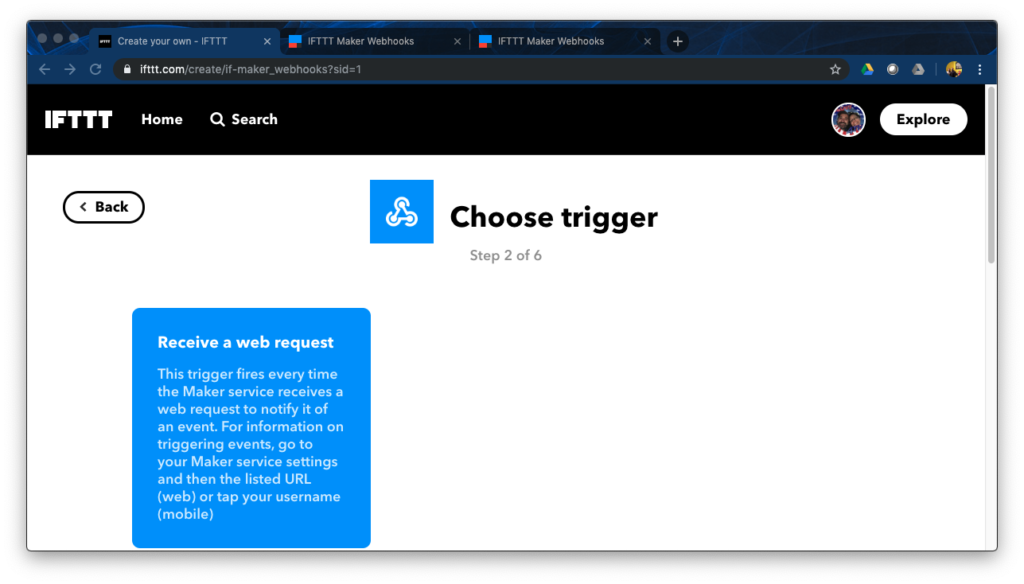
You then need to choose a trigger. Your only option should be “Receive a web request” . Go ahead and click that.
You’ll need to give your trigger a name. This needs to be all one word, with spaces denoted with dash or underlines. Ex: pi_high_temp
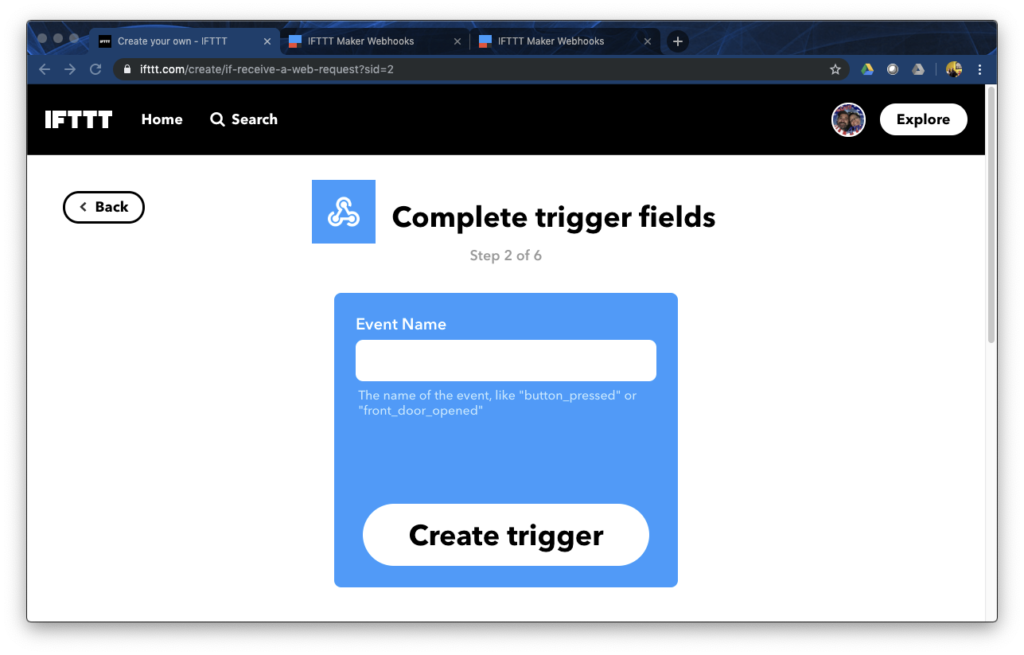
Once you’ve named your trigger, click “Create trigger”. For this post, I’m going to name my trigger “pi-high-temp-blog”
You should be back to the If + Then + That screen. Click the + after “Then”
Back at the search screen, we’re now going to pick the action that happens when the event is triggered. In order to get a notification, we’re going to search for exactly that.
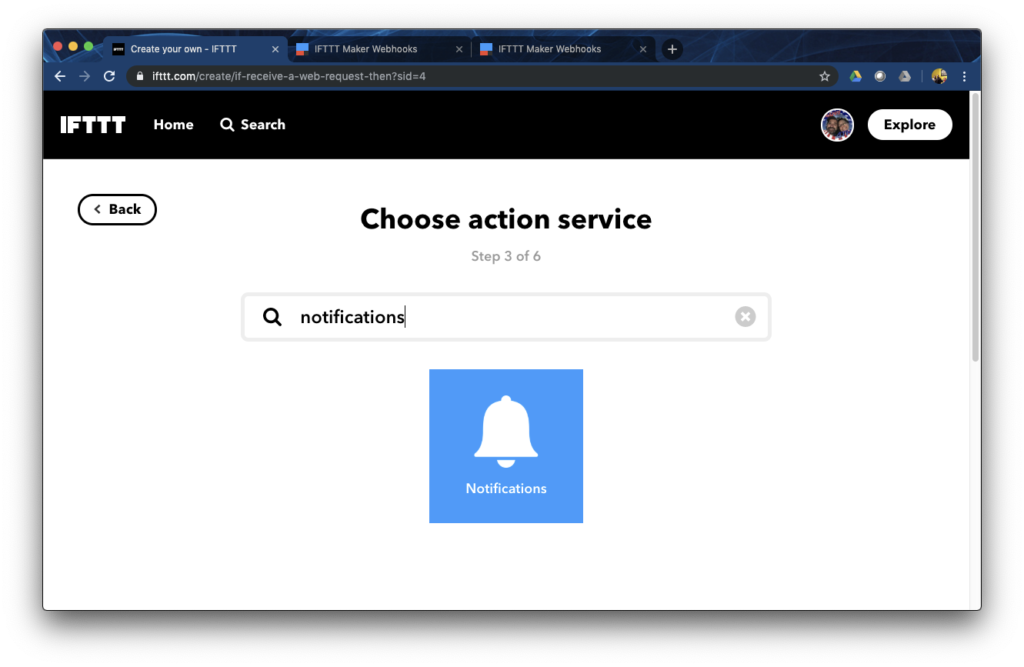
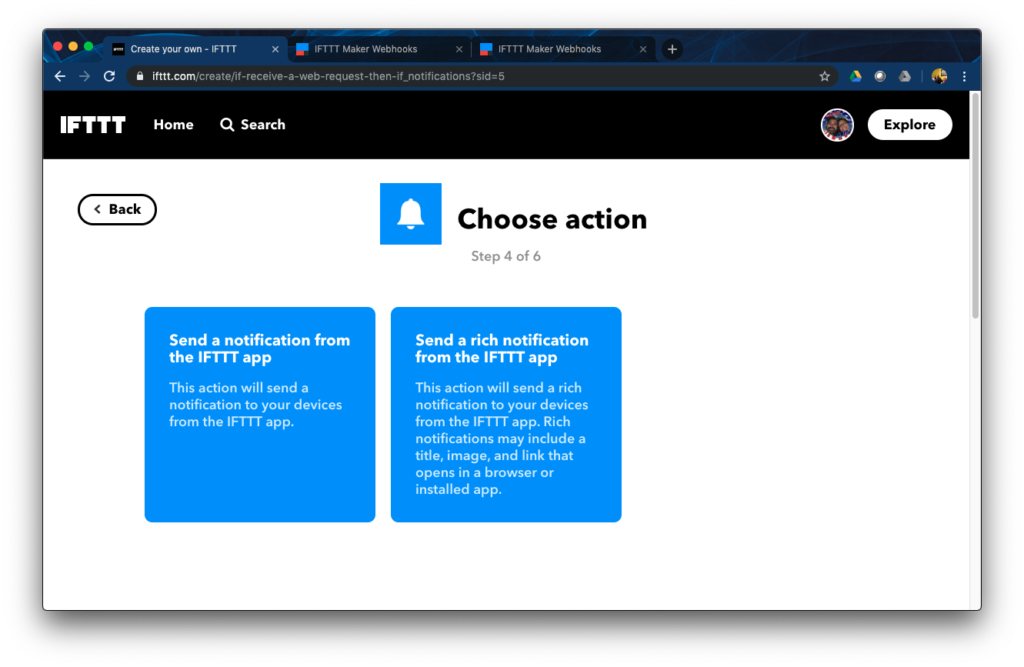
Pick Notifications from the options. You should now see your options. You can pick a “notification” or “rich notification” from the IFTTT app (you did install it and log in on your phone, right?). For initial testing, I selected the first option.
When setting up your notification, you can customize this as you see fit. The Python below passes two values to the event. The first is the hostname and the second is the recorded temperature. Ideally we’d like to see those values reflected in the notification.
Value1 is the hostname.
Value2 is the recorded temperature.
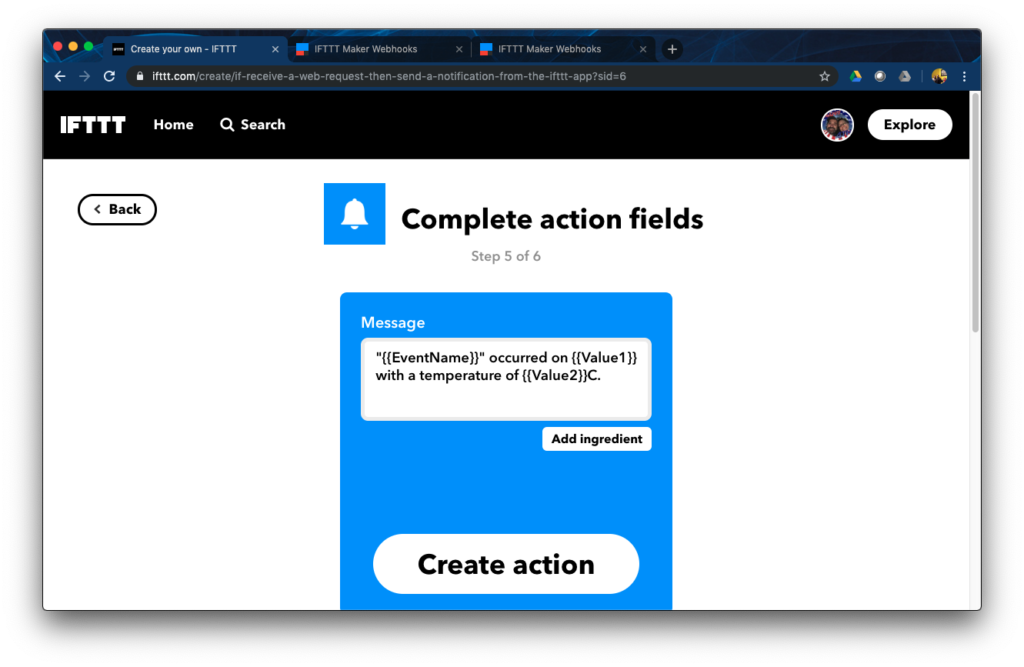
Once you’ve written your notification to you satisfaction, you can click “Create action”
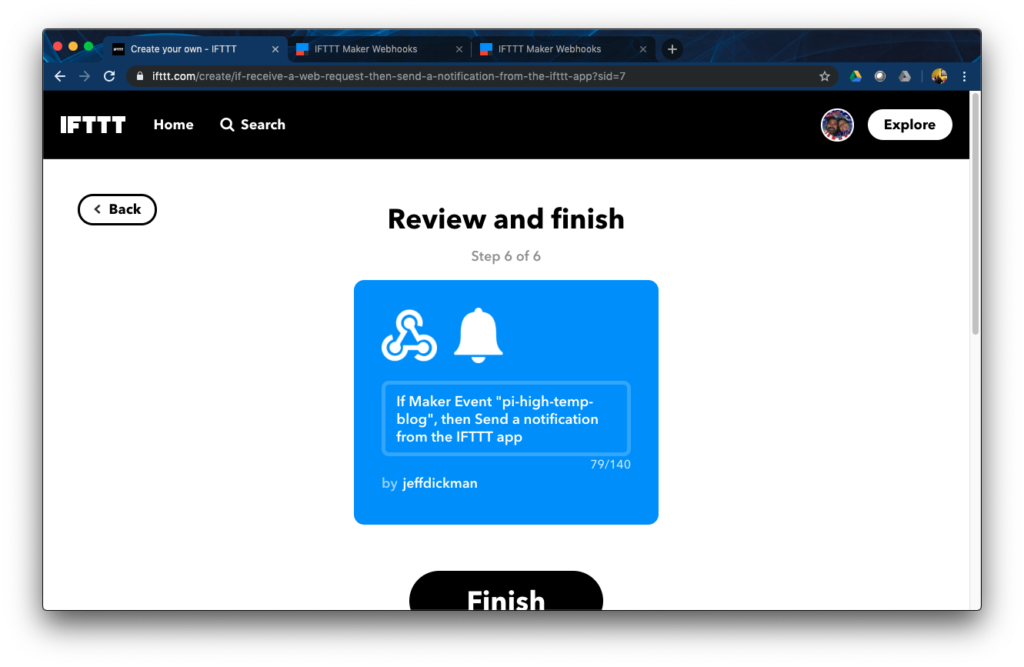
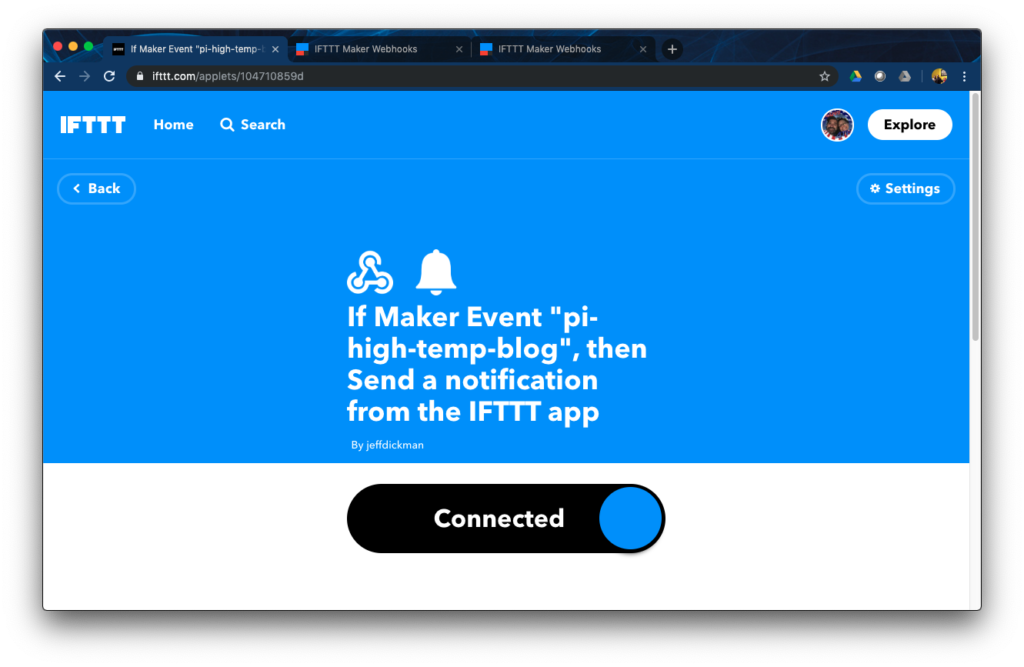
While not overly intuitive at this point, the name of your applet is displayed. You can click on the name and change it to something that makes more sense for you. When you’re satisfied, click “Finish”
You should now be all set to get the Python code in place.
Checking CPU Temp
For this set, you’re going to need your key and the name of your event.
Key (iftttkey): XXXXXXXXXXX_X_X_X (not my real key)
Event (alarm_event): pi-high-temp-blog
Hostname (hostname): jeffs-pi
You can also modify the alarm_temp variable if you want it different from what I have. Based on documentation 60C is when the RPi 3B+ starts to throttle CPU, so that’s what I picked.
You can take the below code and paste it into a file on your pi. Update the variables at the top to reflect your settings.
from gpiozero import CPUTemperature
import requests
import time

iftttkey = "XXXXXXXXXXX_X_X_X"
alarm_event="pi-high-temp-blog"
alarm_temp=60
hostname="jeffs-pi"

def get_temp():
        cpu = CPUTemperature()
        return (cpu.temperature)

def alarm(event, hostname, temp):
        r = requests.post("https://maker.ifttt.com/trigger/" + event + "/with/key/" + iftttkey, params={"value1":hostname,"value2":get_temp()})
        return ( r )

while True:
        temp = get_temp()
        if ( temp >= alarm_temp ):
                alarm( alarm_event, hostname, temp )
        time.sleep(900)
I have the python code set up to check the temp every 15 minutes (900 seconds). I considered lower numbers, but decided if I wasn’t home an alert every 15 minutes would be tolerable. You can adjust it by changing the number in time.sleep(900) to be whatever you want.
You can test your script and event by changing the temp to something you know is low. In my case changing it to 40, caused the alert to be generated.
You could make the code executable by adding
#! /usr/bin/pythonto the top of the file and then changing the mode to executable
chmod +x <filename>.pyI wanted the script to start whenever I reboot the pi. To do that I just set up a line in my crontab with the following.
@reboot python /home/pi/monitor-temp/monitor-temp.pyOnce you set this, reboot and everything should work. If you set your alert low, you should now get an alert at the increment you specified.
As an aside on that… if you change the values in the file, you will need to reboot to have the changes take effect.