Pi-hole is a DNS sinkhole that blocks unwanted content (namely advertising sites) so all those annoying adds on pages you visit go away. It also blocks the sites that would drop advertising tracking cookies in your browser.
About a month ago, I set up Pi-hole on a Raspberry Pi 3B+. It is set up such that anyone on my network gets the benefit of having advertising sites blocked.
The primary purpose for having Pi-hole was not to control content in my house, but to block advertising behaviors from impacting my family. Overwhelmingly the addition of Pi-hole was appreciated. There have been a few occasions where the blocked domain was actually something that was useful. No matter how great a service is, when it impedes progress you get snarky comments.
Being that I am the “admin” in my house, I put myself in the undesirable position of needing to then log in and unblock said domain. No thank you, I don’t want that responsibility. So I went looking for solutions… Plugins that someone can go too? Maybe, but they seem ungainly and still require passwords. Give access to pi-hole and allow anyone to unblock themselves? Way too convoluted and I’ll still be on the hook. I seemed to be stuck.
I happened upon a post where someone was talking about using iOS Shortcuts (new in iOS 12) to do remote tasks on servers via SSH. I said to myself, “Jeff, there’s your solution!” A few Google searches later, I knew I wasn’t the only person who thought of this. I messed around with Shortcuts until I figured out that everything I needed was built in. Shortcuts can do SSH!
Let’s do this!
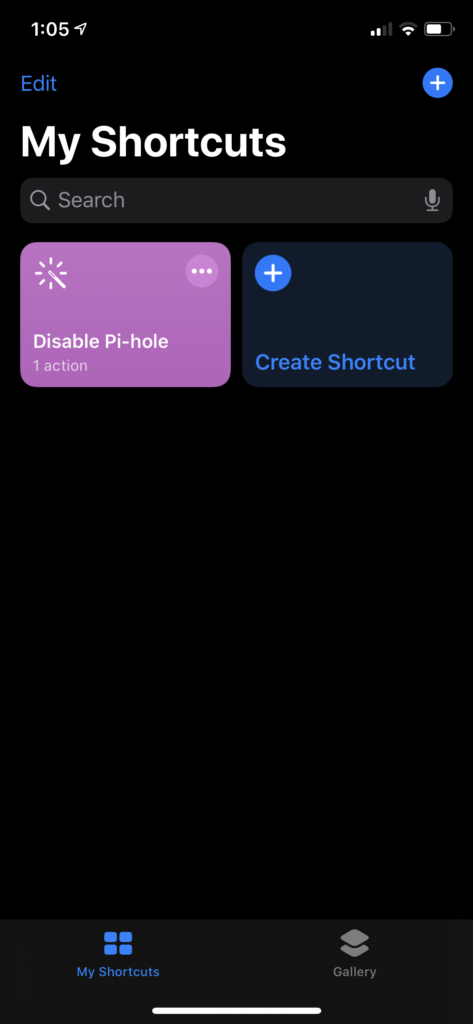
First launch the Shortcuts app. You may or may not have Shortcuts listed here.
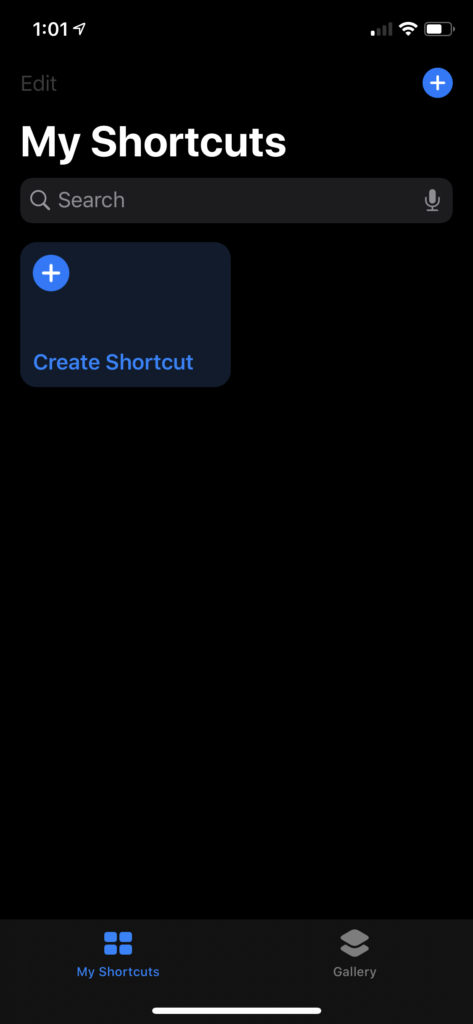
Tap the Create Shortcut box
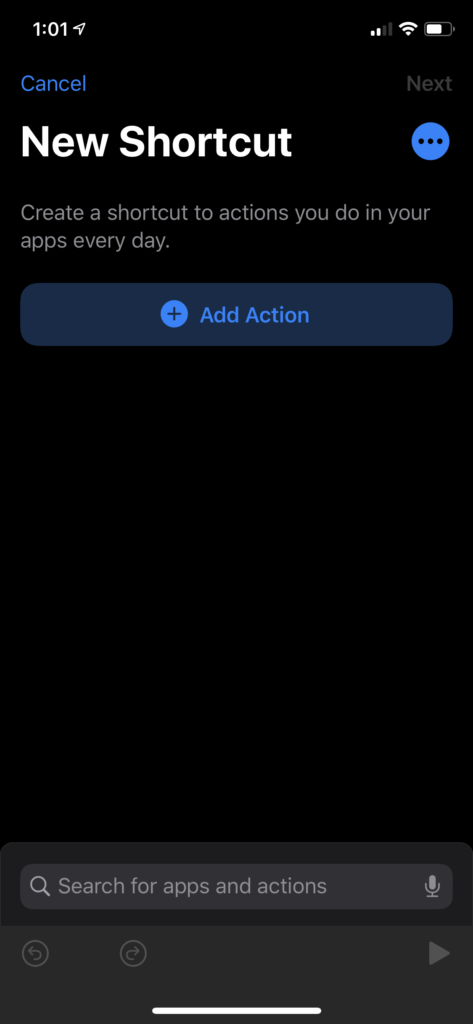
Then tap Add Action
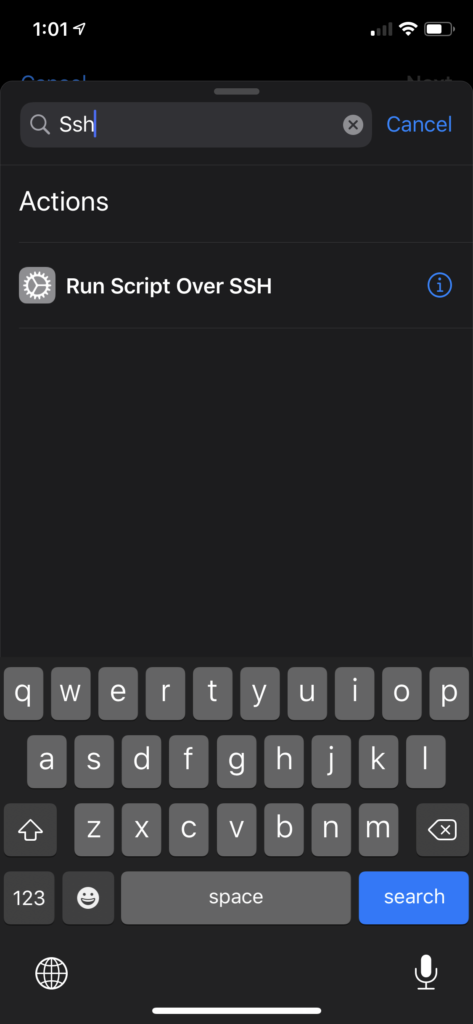
You can scroll through all the actions available, or just search on SSH. If you’ve never played with Shortcuts before, I’d suggest taking some time to see what all is possible. When you’re ready, tap “Run Script Over SSH“.
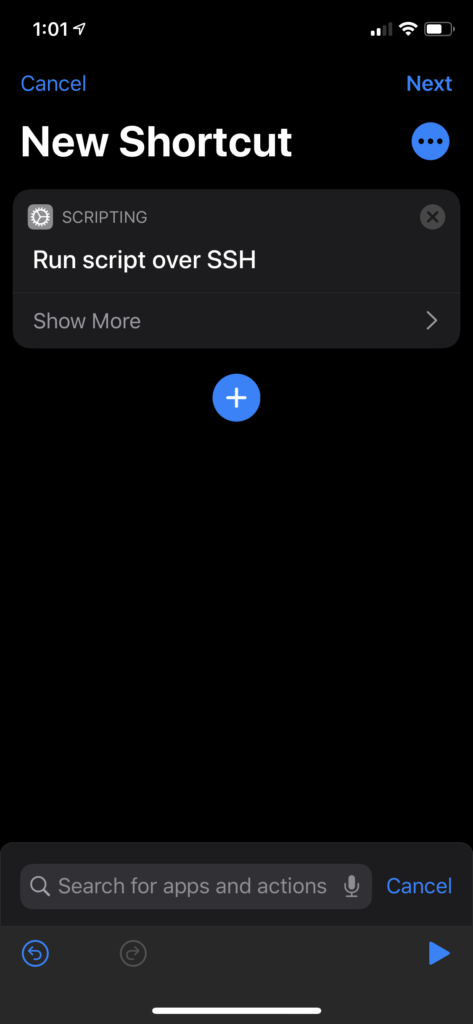
You can see the basics are here. You’ll need to tap “Show More” to get to the meat of what you need to do.
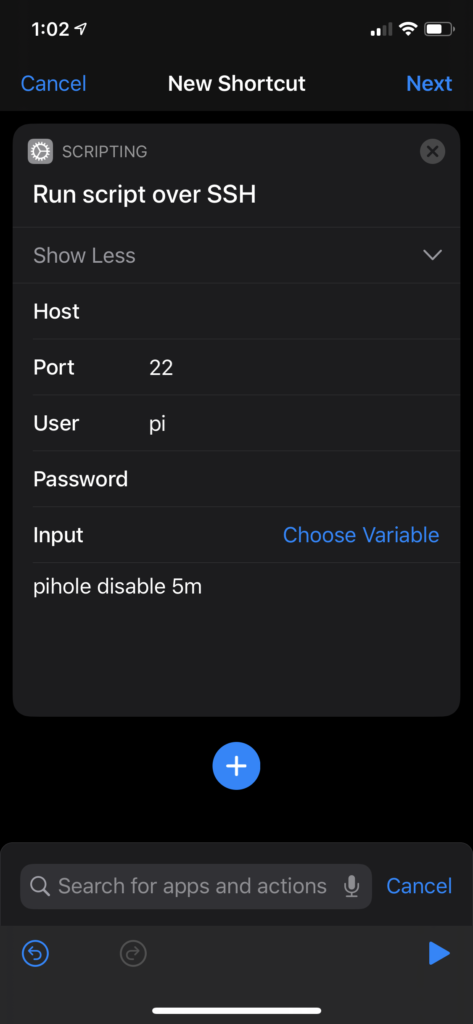
You’ll need to enter your pi-hole server IP Address, the username and password.
The final step here is the command to disable pi-hole.
pihole disable 5mNow, you can just do pihole disable, which will turn off pihole until you turn it back on. Or you can specify an amount of time to disable and then it will turn itself back on. The pihole disable command accepts options in either seconds or minutes as denoted by an “s” or “m” at the end of the number.
You can do any options like the below:
pihole disable 5m #disables for 5 minutes
-or-
pihome disable 60s #disables for 60 seconds
Once you’re satisfied with the command hit Next.
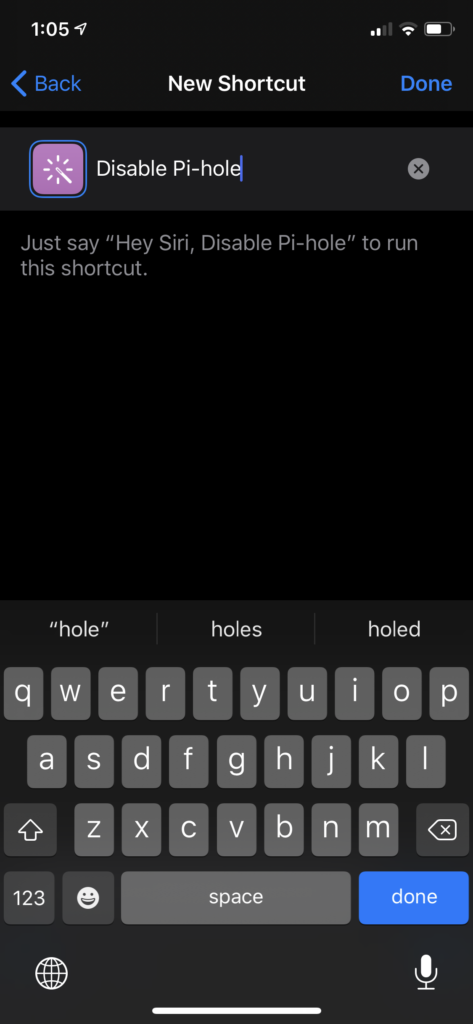
At this point, you can give it a name. You can then just say “Hey Siri” and the name of your Shortcut. I picked “Disable Pi-hole”.
You can also change the icon if you don’t like the color or image that is randomly selected.
When you’re satisfied, click Done.
You should be all set. You can tap the box to test. You should get a checkmark if it ran successfully. You may get other random things happen if it failed. My first attempt, I got a popup with a “0” in it.
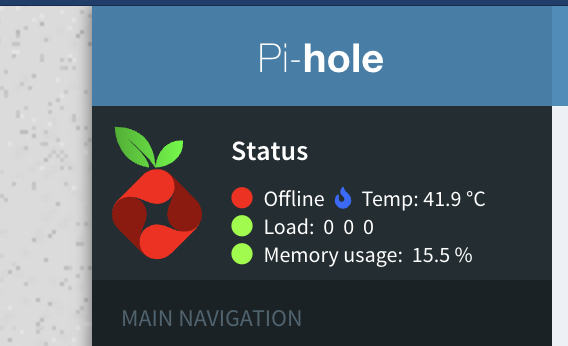
At this point, you can tell Siri to disable your pi-hole and then confirm it’s done by looking at the admin interface.
If you want to enable Pi-Hole via a Shortcut, you can repeat the above process and change the command to
pihole enableSo now you just need to create the shortcut on all your families devices and they can turn off the filtering when it gets in the way!